
how to build a log wedding arch?
To build a log wedding arch, start by selecting two sturdy logs that are tall enough to create the desired height for the arch. Dig two holes in the ground where you want the arch to stand, ensuring they are deep enough to provide stability. Place the logs in the holes and fill them with concrete to secure them in place. Allow the concrete to dry completely. Next, measure and cut additional logs to create the arch shape. Attach these logs to the vertical logs using screws or nails, forming the arch. You can also add decorative elements such as flowers, ribbons, or fabric to enhance the look of the arch. Finally, position the arch in the desired location for your wedding ceremony and ensure it is stable and secure before the event begins.
1、 Selecting the right logs for your wedding arch design
Selecting the right logs for your wedding arch design is an important step in building a log wedding arch that will be both sturdy and visually appealing. Here are some key points to consider when choosing the logs for your arch:
1. Size and shape: Look for logs that are straight and have a uniform diameter. This will ensure stability and make it easier to construct the arch. Consider the height and width of the arch you desire and select logs that are long enough to accommodate your design.
2. Wood type: Different types of wood have different characteristics, so choose a wood that suits your needs. Cedar and pine are popular choices for their durability and natural beauty. They are also resistant to rot and insect damage, making them ideal for outdoor use.
3. Sustainability: It is important to consider the environmental impact of your log selection. Opt for logs that are sustainably sourced or reclaimed to minimize deforestation and promote responsible forestry practices.
4. Preparation: Once you have selected the logs, prepare them by removing any bark or loose branches. Sand the surface to create a smooth finish and prevent splinters. Apply a protective sealant or stain to enhance the wood's natural beauty and protect it from weathering.
5. Assembly: Determine the design and layout of your arch before assembling the logs. Use sturdy hardware such as screws or bolts to secure the logs together. Consider adding additional support, such as cross beams or braces, to ensure stability.
In conclusion, selecting the right logs for your wedding arch design is crucial for a successful and visually appealing construction. Consider the size, shape, wood type, sustainability, and proper preparation to create a log wedding arch that will be both beautiful and durable.

2、 Preparing and cutting the logs for construction
To build a log wedding arch, you will need to start by preparing and cutting the logs for construction. Here is a step-by-step guide on how to do it:
1. Select the logs: Choose logs that are straight, sturdy, and free from any rot or damage. The size and number of logs will depend on the desired height and width of the arch.
2. Measure and mark: Determine the desired height and width of the arch and mark the logs accordingly. Make sure to measure and mark both ends of each log for consistency.
3. Cut the logs: Use a chainsaw or a handsaw to cut the logs according to the marked measurements. Take safety precautions and wear protective gear while cutting.
4. Smooth the edges: After cutting, use a sander or a chisel to smooth out any rough edges or splinters on the logs. This will help prevent any injuries during the construction process.
5. Treat the logs (optional): If you want to protect the logs from weathering or insect damage, you can apply a wood preservative or sealant. This step is optional but can extend the lifespan of the arch.
6. Arrange the logs: Lay out the logs in the desired shape of the arch, ensuring that they are evenly spaced and aligned. You may need assistance to hold the logs in place while assembling.
7. Secure the logs: Use strong ropes or metal brackets to secure the logs together at the top and bottom. Make sure the arch is stable and can withstand any wind or movement.
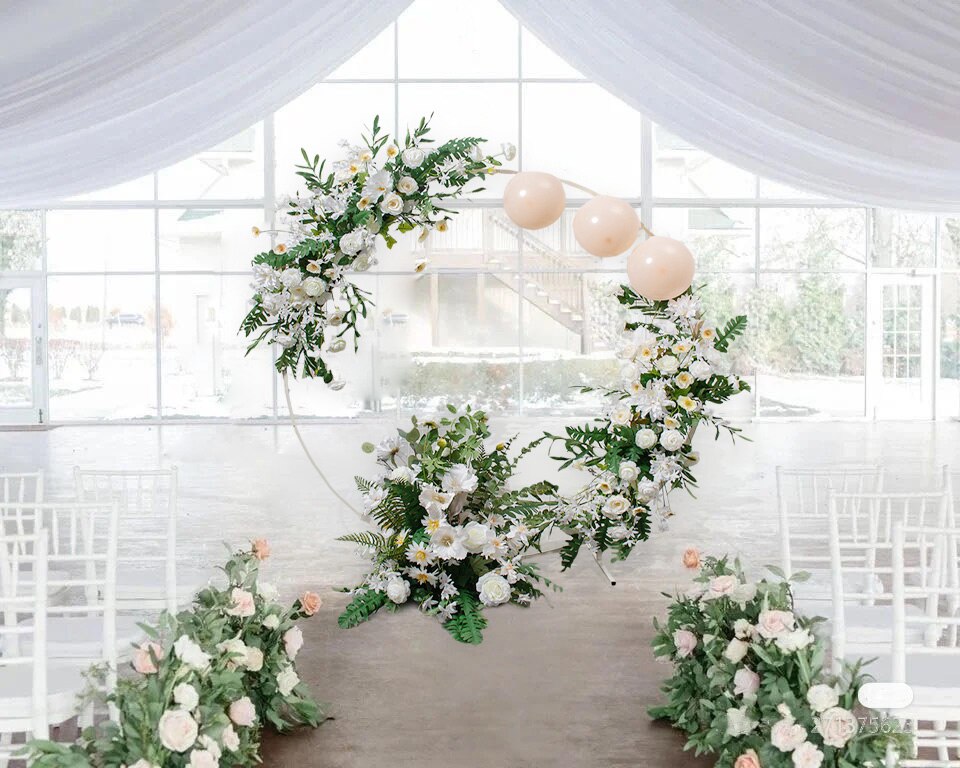
8. Decorate the arch: Once the log structure is secure, you can add decorative elements such as flowers, ribbons, or fabric to enhance the wedding aesthetic.
It's important to note that this guide provides a general overview of how to build a log wedding arch. The specific steps and techniques may vary depending on the design and materials used. It's always recommended to consult detailed instructions or seek professional advice if needed.

3、 Assembling the log wedding arch frame
To build a log wedding arch, you will need a few materials and tools. Here is a step-by-step guide on assembling the log wedding arch frame:
1. Gather the materials: You will need four logs of equal length for the main frame, two logs for the base, screws or nails, a drill or hammer, and any additional decorations or flowers you want to add.
2. Choose a suitable location: Find a flat area where you want to set up the wedding arch. Make sure it is stable and can support the weight of the logs.
3. Measure and cut the logs: Determine the desired height and width of the arch. Cut the four main logs to the desired height, ensuring they are all the same length. Cut the two base logs to the desired width, making sure they are longer than the height of the arch.
4. Assemble the main frame: Lay the four main logs on the ground, forming a rectangle. Position them so that the shorter ends are on top, creating an arch shape. Secure the logs together by drilling pilot holes and then attaching them with screws or nails.
5. Attach the base logs: Place the two base logs perpendicular to the main frame, positioning them at the bottom of the arch. Secure them to the main frame using screws or nails.
6. Decorate the arch: Once the frame is assembled, you can add any additional decorations or flowers to enhance the aesthetic appeal of the wedding arch.
Assembling the log wedding arch frame can be a fun and creative project. Remember to take safety precautions while working with tools and ensure the arch is stable before using it for your wedding ceremony.

4、 Securing the logs together for stability and durability
To build a log wedding arch, you will need to follow a few steps to ensure stability and durability. Here's a guide on how to do it:
1. Select the logs: Choose logs that are straight, sturdy, and free from rot or cracks. The size of the logs will depend on the desired height and width of the arch.
2. Prepare the ground: Clear the area where you want to set up the arch. Level the ground and remove any debris or obstacles.
3. Dig holes: Dig two holes, about 2 feet deep, where the arch's support posts will go. Make sure the holes are evenly spaced and aligned.
4. Insert the support posts: Place the logs into the holes, ensuring they are straight and secure. You may need to use rocks or gravel at the bottom of the holes for added stability. Use a level to ensure the posts are perfectly vertical.
5. Secure the logs together: Use strong ropes or metal brackets to secure the logs together at the top, forming the arch shape. Wrap the ropes tightly around the logs or attach the brackets firmly to ensure stability.
6. Decorate the arch: Once the logs are securely fastened, you can decorate the arch with flowers, ribbons, or other decorative elements to match the wedding theme.
7. Maintain the arch: Regularly inspect the arch for any signs of damage or instability. If necessary, reinforce the logs or replace them to ensure the arch remains sturdy and safe.
It's important to note that the latest point of view emphasizes the use of sustainable and eco-friendly materials. Consider using reclaimed or repurposed logs to reduce environmental impact. Additionally, incorporating native plants and flowers in the arch's decoration can promote biodiversity and support local ecosystems.


Leave your comment