
how to make a reversible table runner?
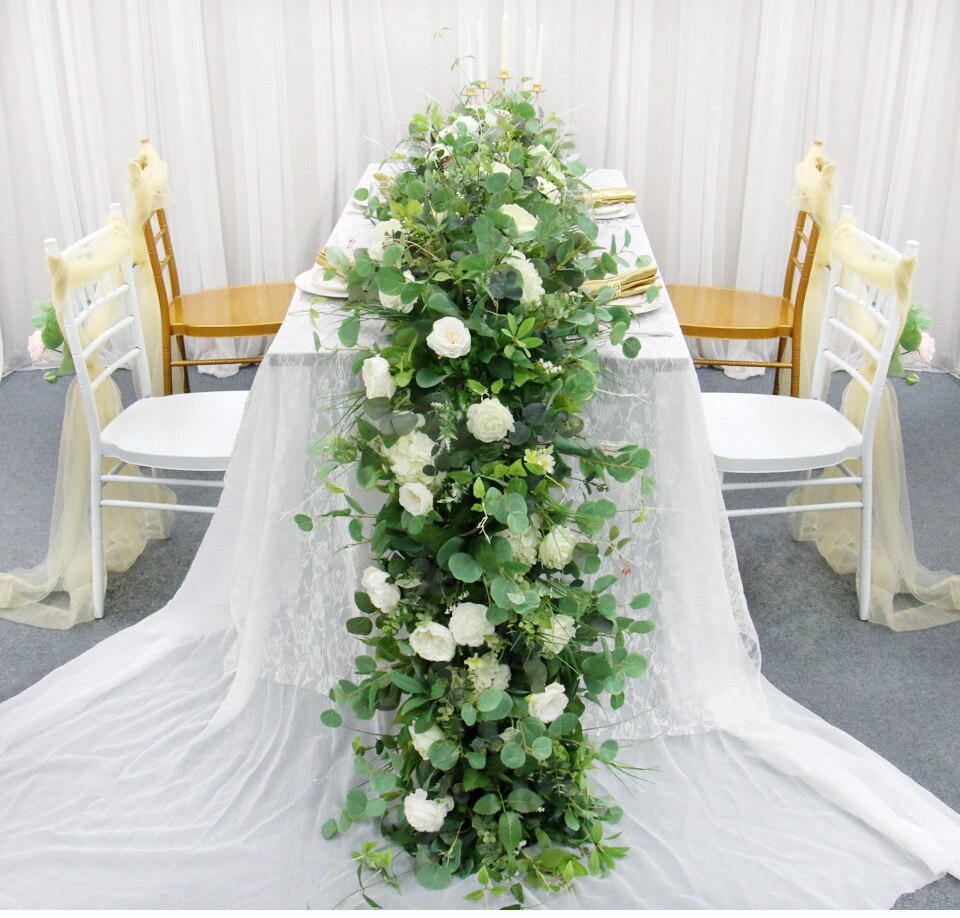
To make a reversible table runner, you will need two coordinating fabrics of your choice, a sewing machine, thread, scissors, and pins. Start by measuring the length and width of your table to determine the desired dimensions of your table runner. Cut two pieces of fabric, each measuring the length of the table plus an additional 6 inches for the overhang and the desired width of the runner plus 1 inch for seam allowance. Place the two fabric pieces right sides together and pin them along the edges. Sew around the edges, leaving a small opening for turning. Trim the corners and turn the runner right side out through the opening. Press the edges to make them crisp and flat. Finally, sew the opening closed using a slip stitch or machine stitch. Your reversible table runner is now ready to be used, with two different fabric options to choose from.
1、 Choosing the right fabric for a reversible table runner
Choosing the right fabric for a reversible table runner is an important step in creating a beautiful and functional piece for your dining table. The fabric you choose will determine the overall look, durability, and ease of maintenance of the table runner. Here are some factors to consider when selecting the fabric:
1. Design and Color: Look for fabrics that complement your dining room decor and tableware. Consider the color scheme and patterns that will work well with your existing table settings.
2. Durability: Opt for fabrics that are sturdy and can withstand regular use. Fabrics like cotton, linen, or polyester blends are good choices as they are durable and easy to clean.
3. Texture: Consider the texture of the fabric and how it will feel on your table. Smooth fabrics like cotton or polyester blends are easy to clean and maintain, while textured fabrics like burlap or jacquard can add a touch of elegance and sophistication.
4. Reversibility: If you want a reversible table runner, choose fabrics that have a similar look and feel on both sides. This will allow you to easily flip the runner for a different look without compromising on quality.
5. Maintenance: Consider the care instructions for the fabric. Some fabrics may require special care, such as dry cleaning, while others can be machine washed. Choose a fabric that suits your lifestyle and maintenance preferences.
In recent years, there has been a growing trend towards eco-friendly and sustainable fabrics. If you are environmentally conscious, you may want to consider fabrics made from organic cotton, hemp, or recycled materials. These fabrics not only look great but also have a lower impact on the environment.
In conclusion, choosing the right fabric for a reversible table runner involves considering factors such as design, durability, texture, reversibility, and maintenance. By carefully selecting the fabric, you can create a table runner that not only enhances the aesthetic appeal of your dining table but also stands the test of time.
2、 Measuring and cutting the fabric for a reversible table runner
To make a reversible table runner, you will need to follow a few steps. The first step is measuring and cutting the fabric. Start by measuring the length and width of your table. Add a few inches to each measurement to allow for overhang and seam allowances.
Once you have your measurements, choose two coordinating fabrics for the front and back of the table runner. Lay the fabrics flat on a cutting surface and use a ruler and fabric marker to mark the measurements. Carefully cut along the marked lines using fabric scissors.
It is important to ensure that both fabrics are cut to the same size so that they can be easily sewn together. Take your time and double-check your measurements before cutting.
Additionally, it is worth considering the latest point of view when choosing fabrics for your reversible table runner. Currently, there is a trend towards using sustainable and eco-friendly materials. You may want to opt for organic cotton or linen fabrics, which are not only environmentally friendly but also durable and easy to work with.
Once you have cut the fabrics, place them right sides together, aligning the edges. Pin the fabrics together to secure them in place. Sew around the edges, leaving a small opening to turn the table runner right side out.
After sewing, trim the corners to reduce bulk and carefully turn the table runner right side out through the opening. Use a blunt tool, such as a knitting needle or chopstick, to push out the corners for a crisp finish.
Finally, press the table runner with an iron to remove any wrinkles and topstitch around the edges to close the opening and give the runner a finished look. Your reversible table runner is now ready to adorn your table with style and versatility.
3、 Sewing the two sides of the reversible table runner together
To make a reversible table runner, you will need two coordinating fabrics, a sewing machine, thread, scissors, and pins. Here is a step-by-step guide on how to create a reversible table runner:
1. Start by measuring the length and width of your table. Add a few inches to each measurement to allow for overhang and seam allowances.
2. Cut two pieces of fabric according to your measurements. These will be the front and back of your table runner.
3. Place the two fabric pieces right sides together, aligning the edges. Pin them together to secure.
4. Using a sewing machine, stitch around the edges of the fabric, leaving a small opening for turning the runner right side out. Be sure to backstitch at the beginning and end of your stitching.
5. Trim the corners of the fabric to reduce bulk and make it easier to turn.
6. Carefully turn the table runner right side out through the opening. Use a pencil or chopstick to push out the corners for a crisp finish.
7. Press the table runner with an iron to remove any wrinkles and create a smooth surface.
8. Fold in the raw edges of the opening and press them inwards. Pin the opening closed.
9. Topstitch around the entire table runner, close to the edge, to secure the opening and give a finished look.
10. Finally, give the table runner a final press with the iron, and it is ready to use!
By sewing the two sides of the reversible table runner together, you ensure that both fabrics are securely attached and will not shift or separate during use. This method also allows for a clean and professional finish. Additionally, by making the table runner reversible, you can easily switch up the look of your table by simply flipping it over. This versatility is perfect for different occasions or seasons, allowing you to change the aesthetic of your table setting with ease.

4、 Adding decorative elements to the reversible table runner
To make a reversible table runner, you will need some basic sewing skills and materials. Here is a step-by-step guide on how to create a reversible table runner:
1. Gather your materials: You will need two coordinating fabrics, measuring tape, fabric scissors, pins, a sewing machine, and thread.
2. Measure and cut the fabric: Determine the desired length and width of your table runner. Add an extra inch to each measurement for seam allowances. Cut two pieces of fabric to these measurements.
3. Pin the fabrics together: Place the two fabric pieces right sides together and pin them along the edges, leaving a small opening for turning.
4. Sew the fabrics together: Using a sewing machine, stitch around the edges of the fabric, leaving a 1/4 inch seam allowance. Remember to backstitch at the beginning and end of your stitching.
5. Trim the corners: Trim the excess fabric from the corners to reduce bulk when turning the table runner right side out.
6. Turn the table runner right side out: Carefully pull the fabric through the opening to turn the table runner right side out. Use a pencil or chopstick to push out the corners for a crisp finish.
7. Press and topstitch: Iron the table runner to remove any wrinkles and press the seams. Then, topstitch around the edges, closing the opening used for turning.
Adding decorative elements to the reversible table runner can enhance its overall look. You can consider incorporating elements such as appliques, embroidery, or fabric trims. Appliques can be sewn onto the table runner using a decorative stitch or hand-sewn for a more intricate design. Embroidery can be added using various stitches to create patterns or monograms. Fabric trims, such as lace or ribbon, can be sewn along the edges of the table runner to add a touch of elegance. These decorative elements can be applied to one or both sides of the table runner, depending on your preference.
Incorporating the latest point of view, you can also experiment with modern and trendy fabrics, such as geometric prints or bold colors, to give your reversible table runner a contemporary look. Additionally, consider using contrasting thread colors or metallic threads for topstitching to add a unique and eye-catching detail. Remember to always follow current design trends and your personal style when adding decorative elements to your reversible table runner.


Leave your comment